AWS WorkSpaces で急造テレワーク環境! 続き5(rocket.chat設定編)
今回はrocket.chatの設定の説明になります。
1.登録フォームの無効化
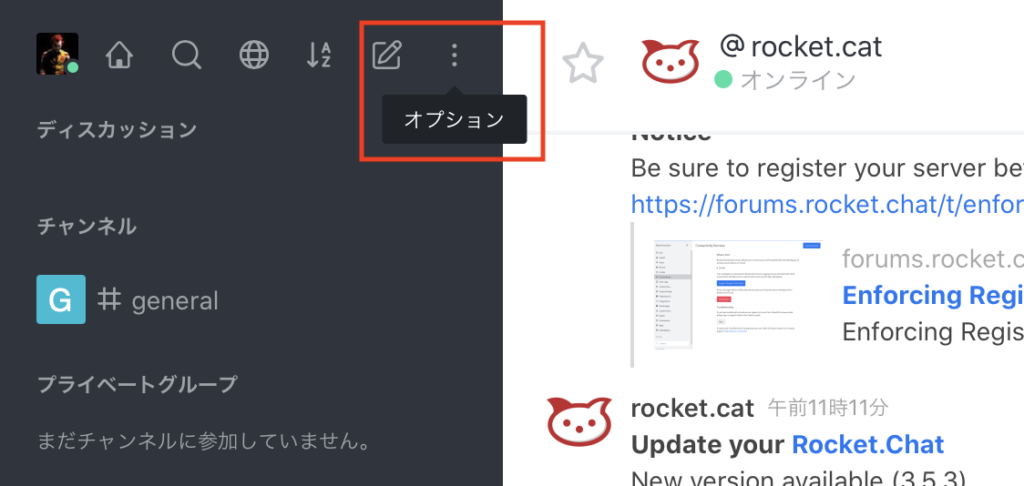
導入時に設定した管理者ユーザでログインをしたら、管理画面を開きます。
赤枠のようにユーザメニューアイコンの右端のオプションを選択し表示される「管理」を選択します。
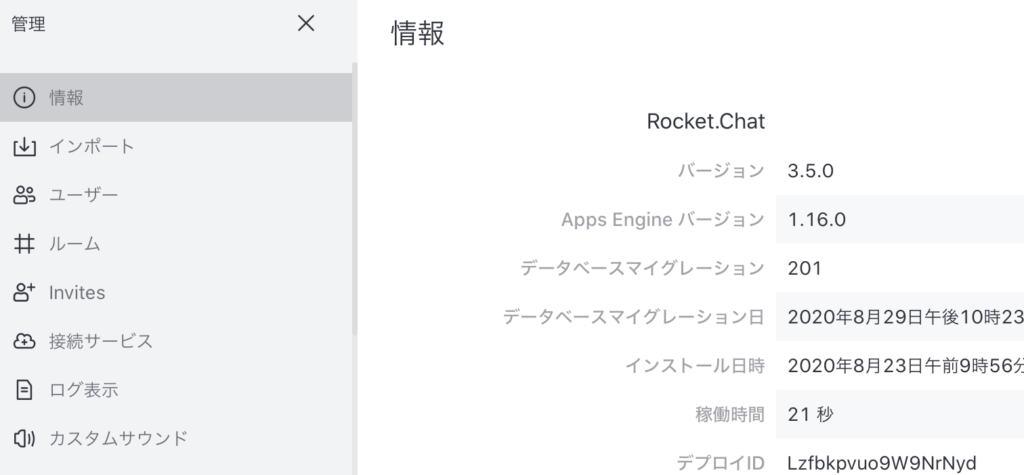
以下のように管理画面に遷移します。
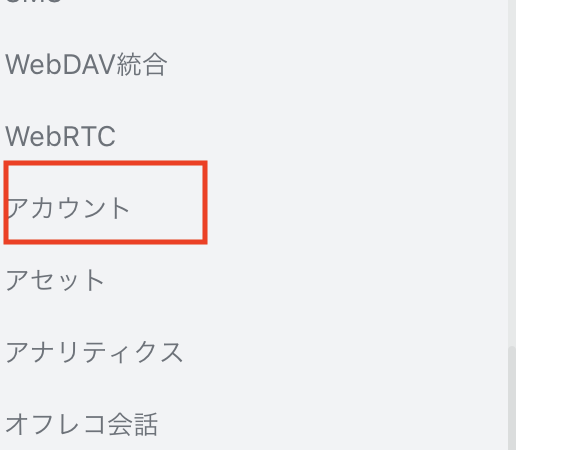
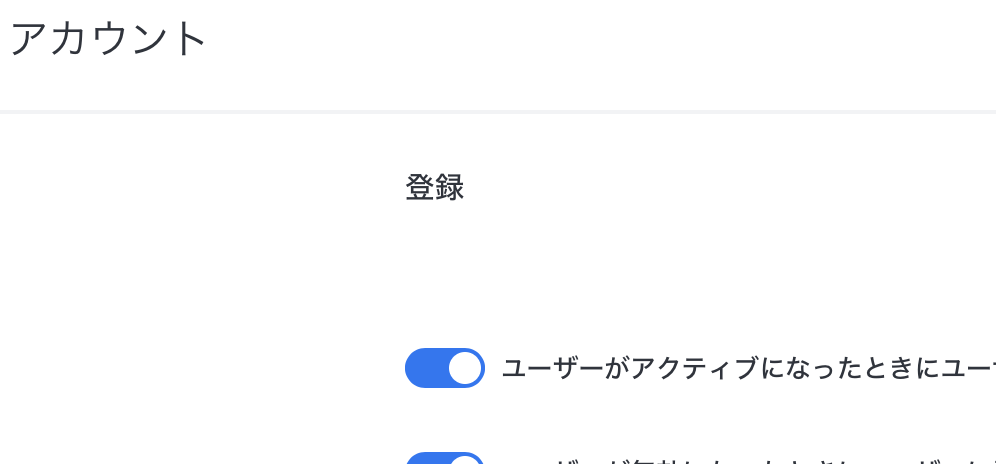
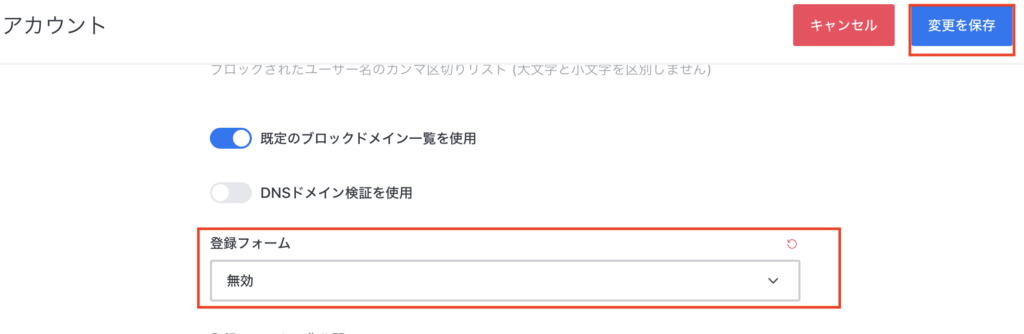
初期状態の場合、ログイン画面に新規ユーザ登録画面へのリンクが表示された状態になっています。
インターネットに公開されている場合、誰でもユーザ登録の申請が可能になっているため、まずはこちらを無効化します。
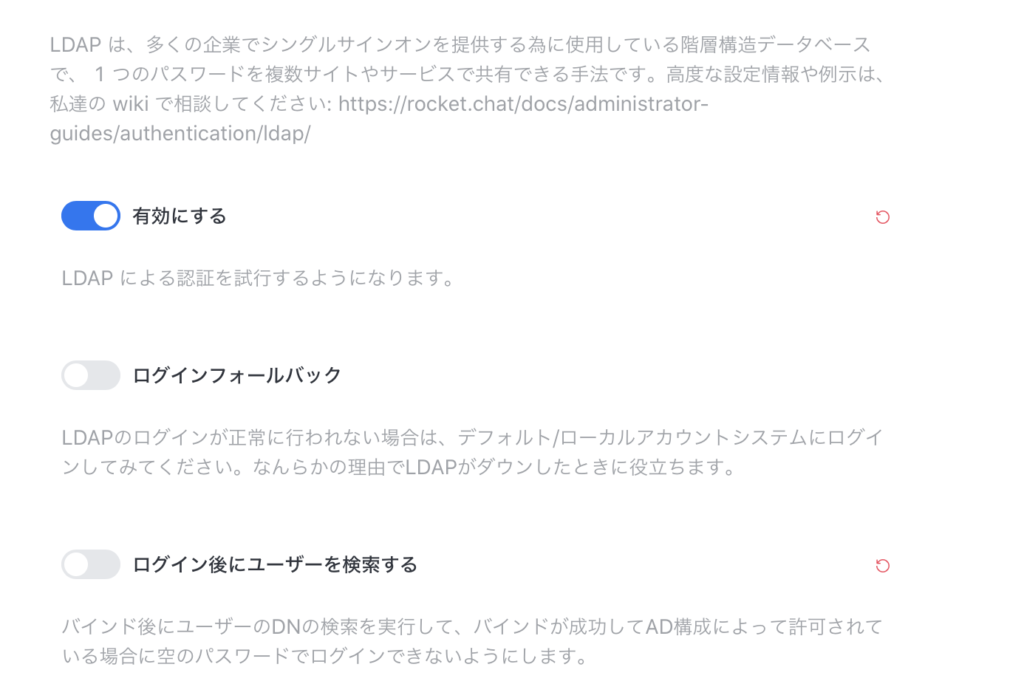
2.認証設計
owncloudと同様にSimpleADをLDAPとして利用のための設定を行います。

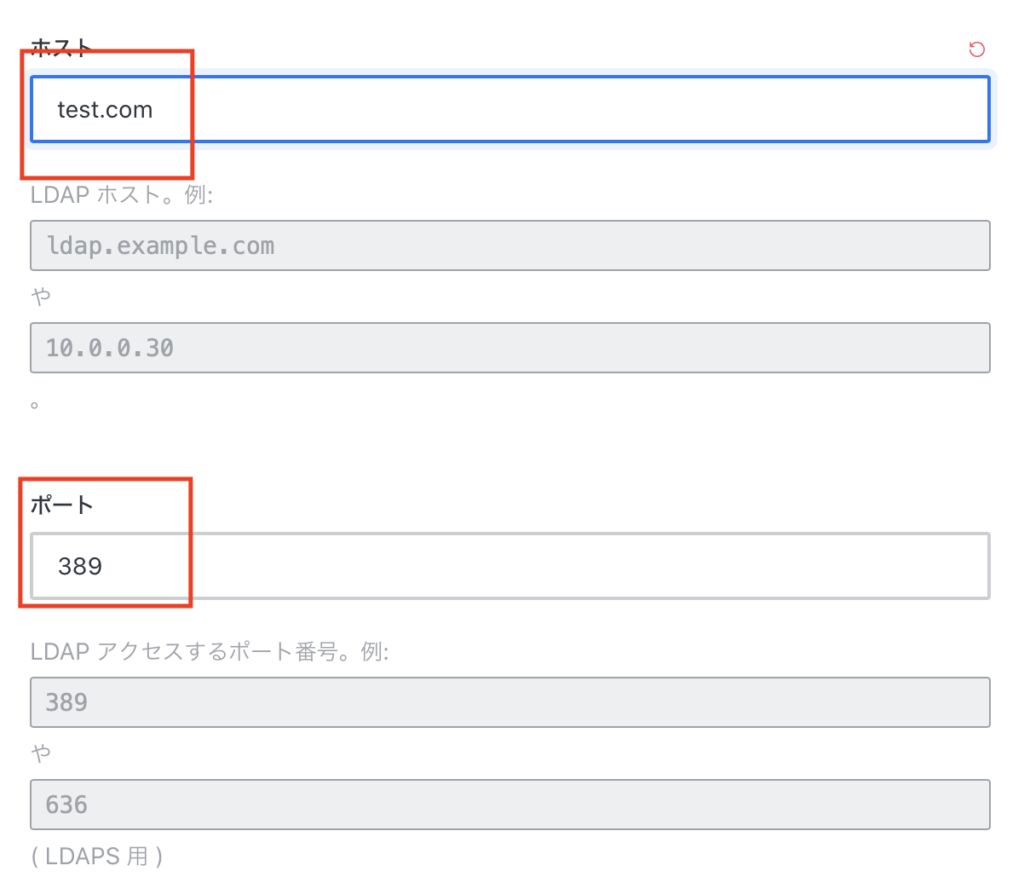
2.ポートに389を入力する
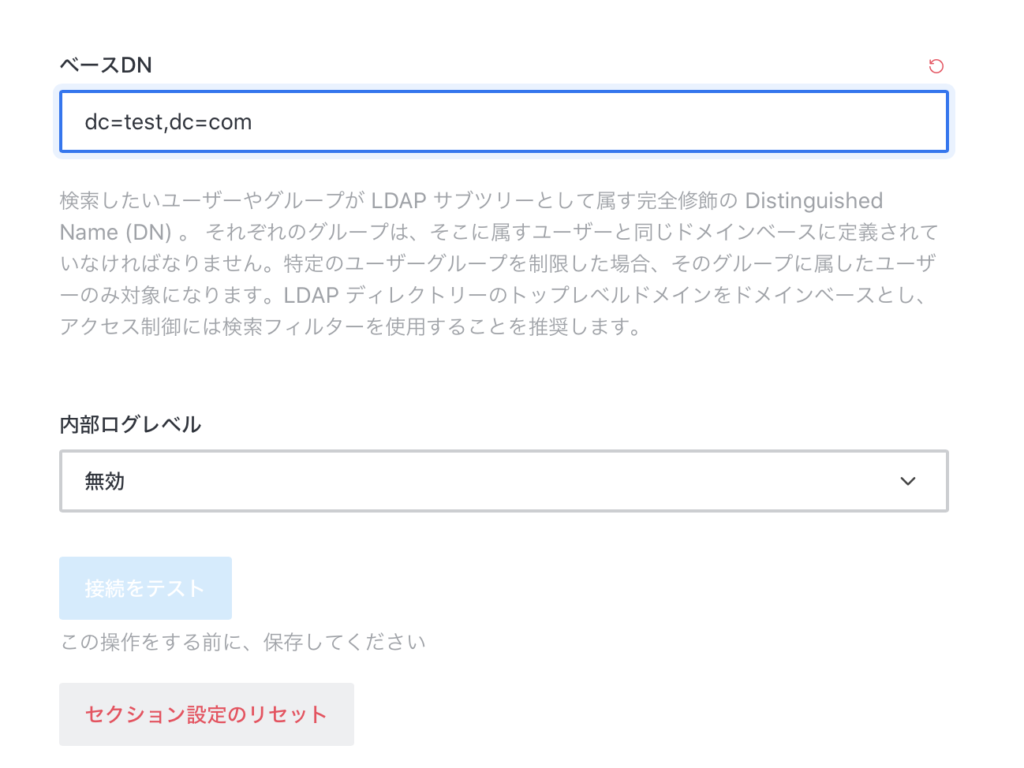
ここで一旦、「変更を保存」します。
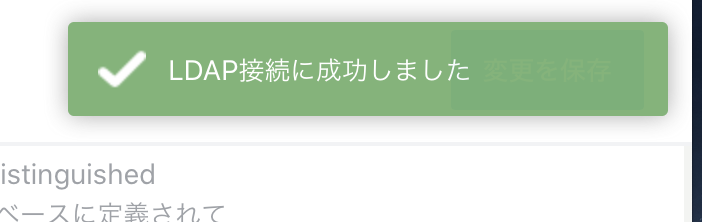
「接続をテスト」のボタンが有効化されるのでクリックし、LDAPと接続できるかを確認します。
成功の場合、以下のように表示されます。
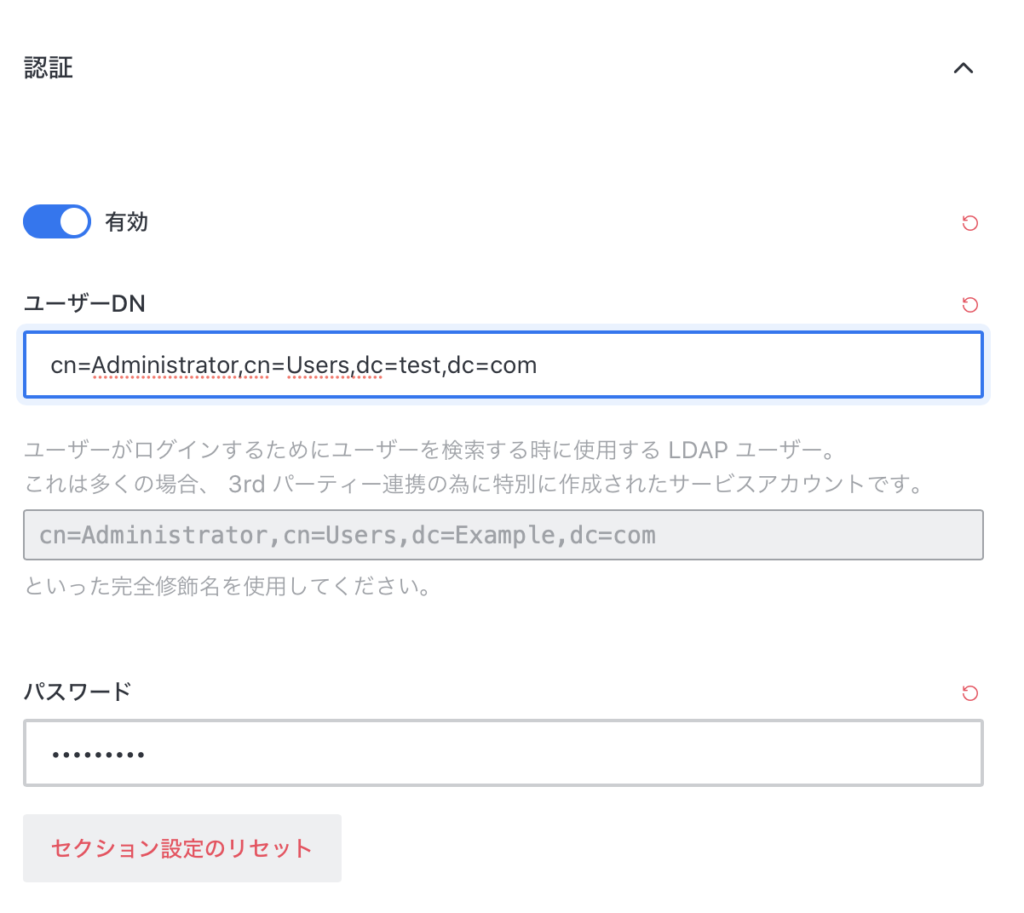
次にLDAPメニュー内の認証を開き、検索用のLDAPユーザを入力します。
LDAPの登録されたユーザならどれもOKです。ここではAdministratorを設定しています。
ベースDNと同様ですが、cn=【ユーザ名】,cn=Usersを付与します。パスワードは定義したユーザのパスワードを記載します。
設定後、「変更の保存」をクリックします。
ここまでの設定でSimpleADに登録されたユーザID/パスワードでrocket.chatにログインすることで自動でカウントが追加されますが、
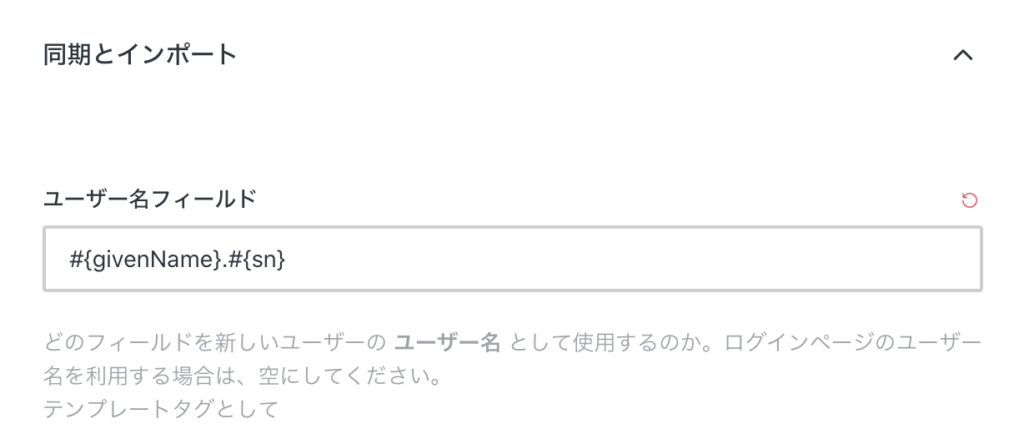
rocket.chatのユーザ表示名を「【苗字】 【名前】」となるようにLDAPメニュー「同期とインポート」ユーザ名フィールドの設定を
デフォルトの「sAMAccountName」から「#{givenName}.#{sn}」に変更し「変更を保存」をクリックします。
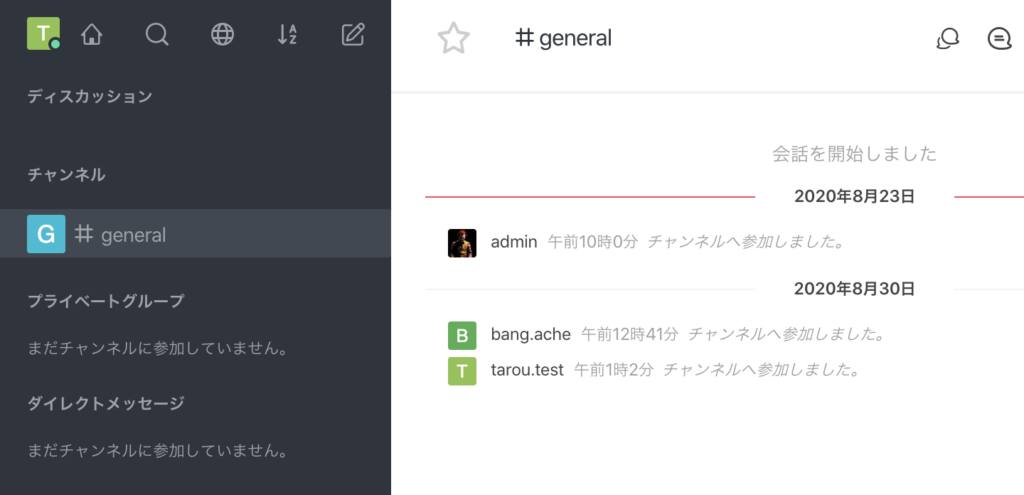
simpleADに登録した以下のようなサンプルユーザでログインします。
ちなみに、姓と名が2バイト文字だとrocket.chatが扱えず、空欄となってしまうのでローマ字で登録してください。
アカウント名:test001
姓:test
名:tarou
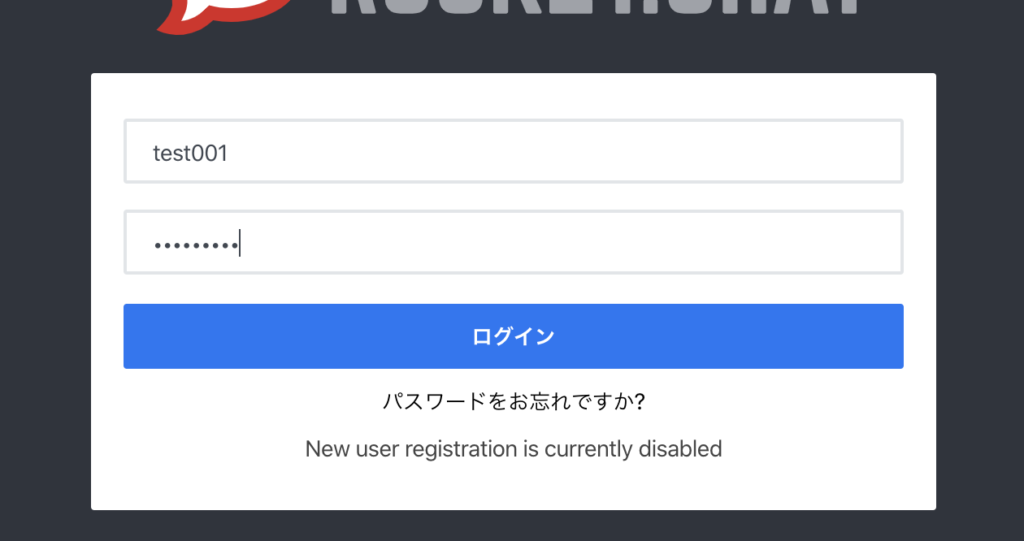
正常にログインできれば以下のように表示されます
アップロードファイルの制限やら、カスタムCSS、テレビ会議設定やら他にも色々できることはありますがこれで基本的なリアルタイムメッセンジャーチャットが利用可能になります。